InRule for Salesforce App
At this point, all the Azure requirements are met. The execution service should be listening for incoming communication from Salesforce. We must now setup the InRule for Salesforce App, which is done with a managed Salesforce package. This can be done via either AppExchange or direct install link:
- Deploy latest version – navigate to the AppExchange, select 'Get It Now'
- Deploy specific version – deploy the specific version associated to this Deployment Guide (refer to cover page for version)
Install from AppExchange
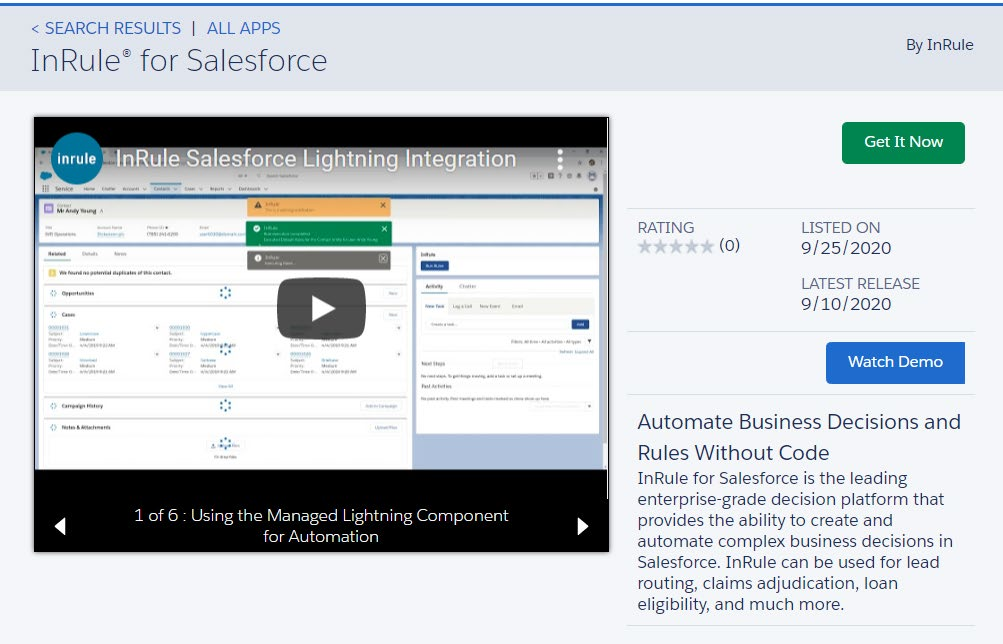
InRule for Salesforce can be installed from the Salesforce AppExchange marketplace. You can either search for 'InRule for Salesforce' or go directly to the listing here: https://login.salesforce.com/packaging/installPackage.apexp?p0=04tHu000003EZBV When you get to the listing page, you'll need to select 'Get It Now' and choose the org you want to install the package in.
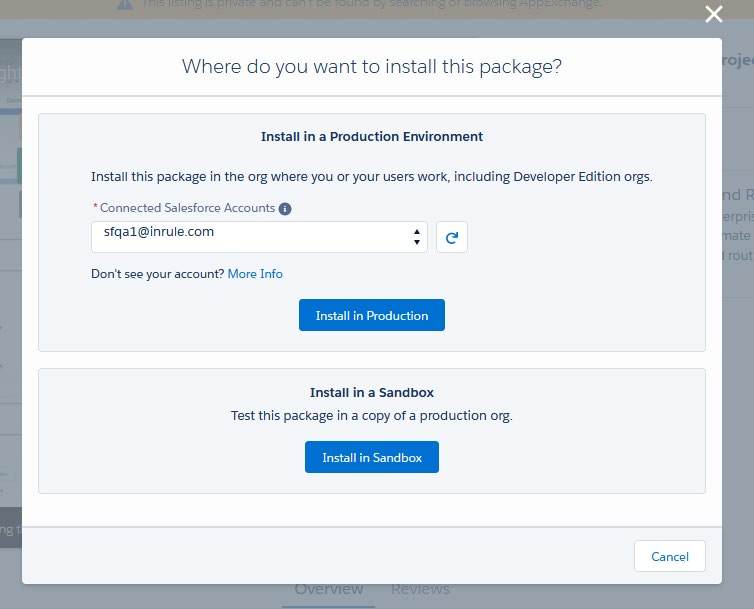
Once you've selected an org and logged in, you'll see a screen prompting you to install the package. Select 'Install for all users' and hit ok. Installing this package installs all the components required for integrating with InRule, including a configuration app, Apex classes, and custom settings and objects. Once the installation is complete, you will need to configure the connection to the execution service.
Navigate to the InRule for Salesforce App
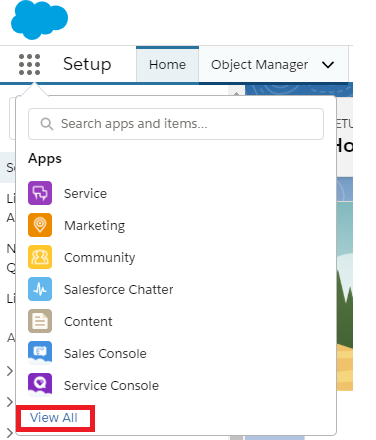
In Lightning view, select the Salesforce App Launcher button in the top right of the home screen and select "View All"
Select the InRule App
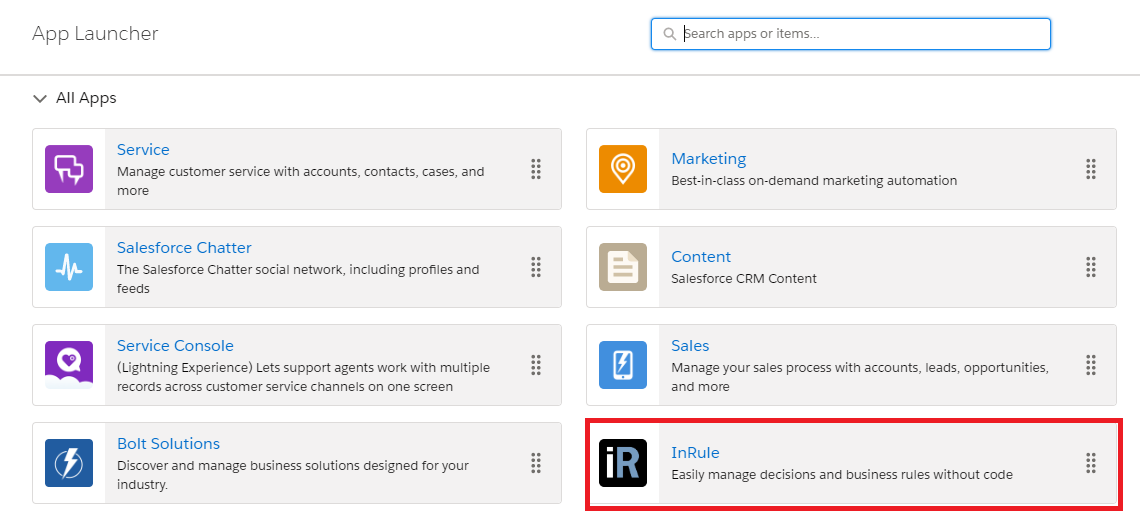
This app provides useful information on how to get started using InRule for Salesforce, as well as quick links to important configuration pages and logging.
Configure the InRule App
Connected App
First, create a new Connected App in Salesforce that is configured for OAuth authentication. Navigate to Setup → App Manager -> New Connected App
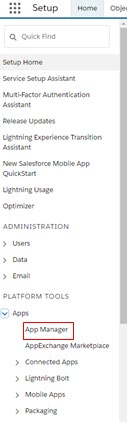
In the top right, select "New Connected App"

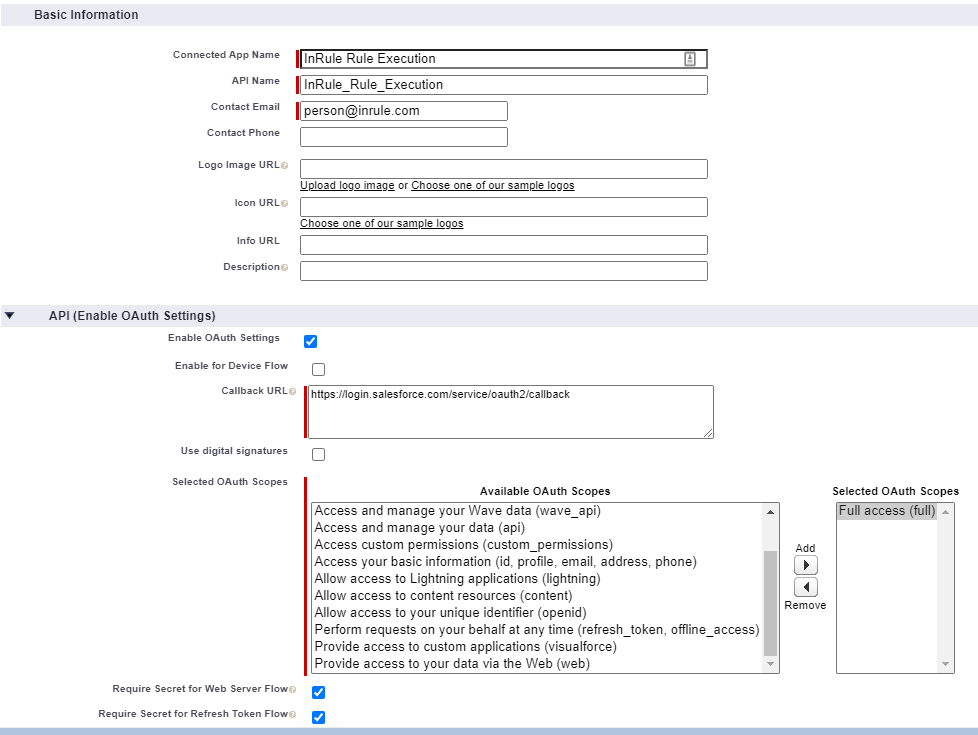
Fill out the Basic Information and next we will configure OAuth.
Setting up OAuth for a Salesforce Connected App
InRule for Salesforce supports two authentication methods for authenticating with Salesforce during Rule Execution:
- Client Credentials Flow – the recommended method for all new integrations. This approach is more secure and aligns with Salesforce's current OAuth best practices for service-to-service authentication. It eliminates the need for storing user passwords and tokens.
- Username–Password Flow – supported for legacy integrations. This method uses a dedicated service account and API security token. While still functional, it is no longer the preferred approach for new configurations.
Important: Authentication within irAuthor still requires a username and password, which is separate from the authentication described in this section.
Configuring Client Credentials Flow (Recommended)
If you are an existing customer currently configured to use the Username-Password flow, and are looking to migrate to Client Credentials flow, a full guide on migrating from the Username-Password flow can be found here in this Salesforce Help Doc.
When using the Client Credentials authentication flow, there is no callback URL, but because Salesforce requires this field to be populated, enter any properly formatted URL; it will not be used.

Be sure to edit the OAuth scopes for the app. "Full Access" is used here, but feel free to add more limiting scopes if desired.
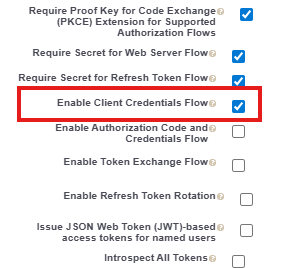
Ensure the "Enable Client Credentials Flow" setting is checked.
All other settings can be left as their default values. Click Save and select the newly created Connected App and inspect the OAuth settings. Record the Consumer Key and the Consumer Secret.
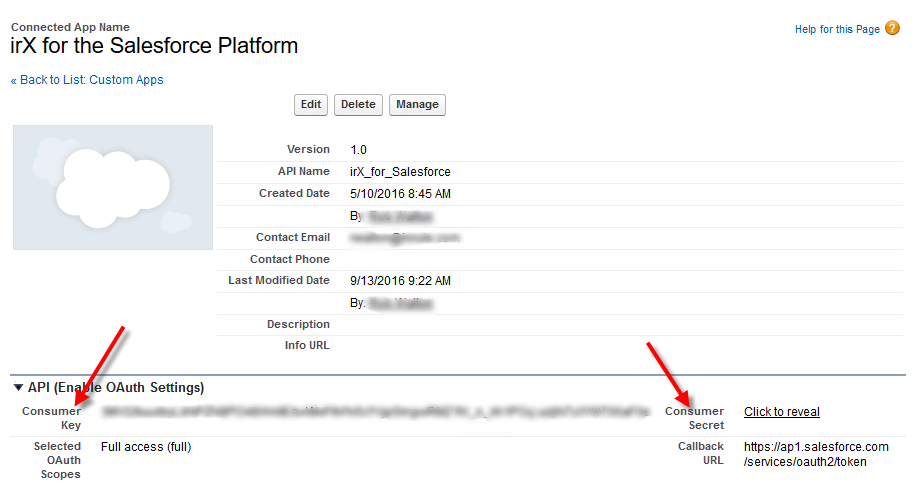
Next, we will need to set up an execution user to run the flow. Although there's no user interaction in the client credentials flow, Salesforce still requires you to specify an execution user. By selecting an execution user, you allow Salesforce to return access tokens on behalf of this user. Select Manage from the Connected App's page and then Edit Policies.

In the Client Credentials Flow section at the bottom of the page, select a user in the Run as field. Salesforce recommends that you select an execution user who has the API Only User permission.

Configuring Username-Password Flow (Legacy)
Like Client Credentials flow, there is no callback URL, but because Salesforce requires this field to be populated, enter any properly formatted URL; it will not be used.
Set the OAuth Scope to "Full Access".
All other settings can be left as their default values. Click Save and select the newly created Connected App and inspect the OAuth settings. Record the Consumer Key and the Consumer Secret.
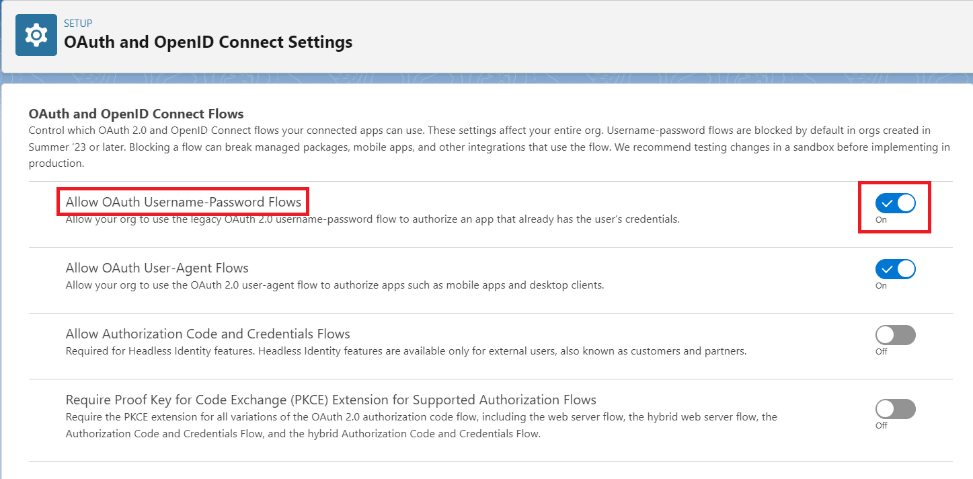
If your Salesforce instance was created after the Summer '23 update, verify that you have enabled the 'Allow OAuth Username-Password Flows' toggle on the OAuth and OpenId Connect Settings page.
Once you have completed these steps, you should have the token, consumer key and consumer secret, all of which are required for authentication with Salesforce in addition to the username and password.
Named Credential
Next, we need to configure the Named Credential in Salesforce. This will be used by the Apex code to make secure HTTP requests to the Rule Execution Service. See Named Credential Configuration for instructions on how to set up your Named Credential.
Custom Setting
Once you have set up the Named Credential, navigate back to the InRule App and return to the configuration tab. Under the "Custom Settings" header, click the "Custom Settings" shortcut link to configure your default rule app name and logging level.

Click on the InRule label

Click "Manage"

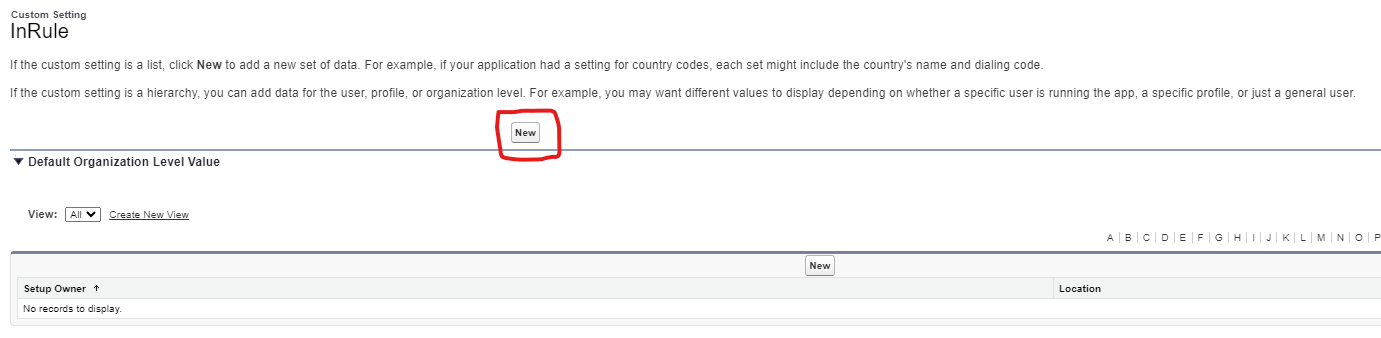
Click "New". Be sure to select the button above "Default Organization Level Value", not the one below it. The "New" button in the grid below will create a setting that is only applicable to a subset of users, but the org level value will apply to all users. Scoped values can be used if desired, but be sure to at least define an org level value.
| Configuration Form Fields | |
|---|---|
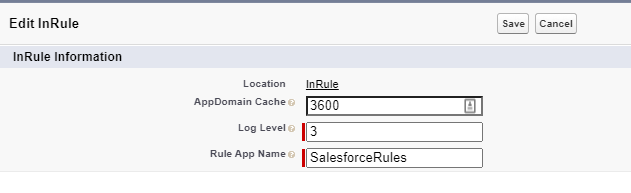
| Rule App Name | The name of the rule app that will be loaded by the Rule Execution Service when running rules |
| App Domain Cache | An integer that defines the amount of time in seconds that the InRule RuleHelper will hold entities and collections in cache after querying for them. You can use the "Clear Cache" button on the InRule Configuration page to clear the cache at any time. Additionally, re-setting the configuration value to 0 will clear the cache. |
| Logging Level | An integer that denotes the amount of information to log after rule execution completes. This is a default value that will be used by all invocations of the DecisionClient, but can be overridden in the calling script. Results are written to the InRule_Log__c object. Values can be 0, 1, 2, or 3. These log levels are different than the log levels in the execution service which must be configured independently: - 0 – disable all logging - 1 – Logs errors and a minimal amount of information on successful requests - 2 – Logs errors, rule engine notifications, and rule engine validations - 3 – Logs the same information as 2, but also includes JSON from the HTTP request and response payloads, and additional trace messages |
Once configured, press Save.
Verify a Successful Deployment
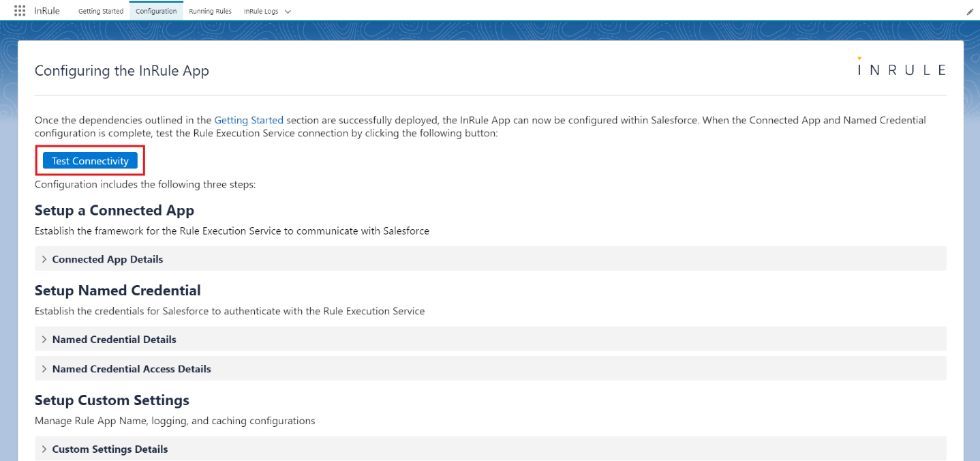
Now that all of our resources are properly deployed and configured, we can test to ensure they're all working as they should be. Navigate back to the InRule App and then the Configuration tab once again. Find the "Test Connectivity" button and press it. This button will make a mock request out to your Rule Execution Service to verify that the InRule App and all related Azure resources are deployed and configured properly.
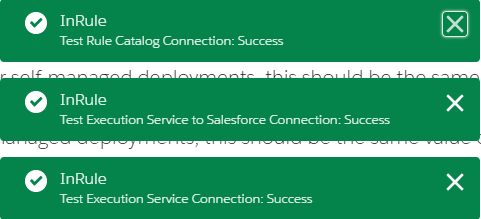
If successful, you should get 3 green notifications like below:
Add the Run Rules Button
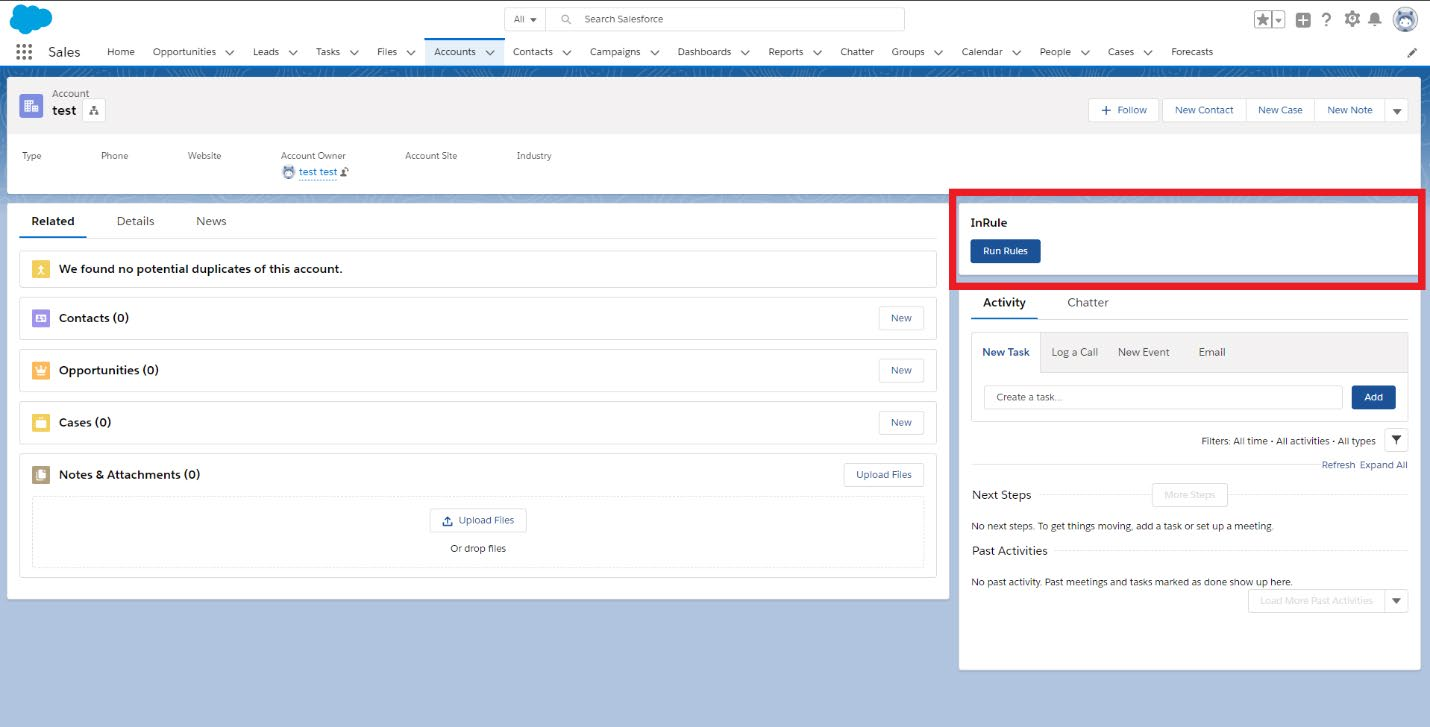
As a part of the deployment of the InRule for Salesforce App, a new "Run Rules" Lightning component has been installed. To add and configure this component to an entity or entities, you can follow the steps below. This example uses the Account entity and the rule app you uploaded in the Testing the Catalog App step, but this process should work for any entity, default or custom.
Alternatively, a sample Run Rules JavaScript button has now been installed for the account and contact entities in the Classic (non-Lightning) UI. For guidance on how to add a Run Rules button in the Classic UI, refer to Methods for Executing Rules from Salesforce.
To begin, navigate to the entity you wish to add the button to. Note that you will have to add the button to each entity individually.
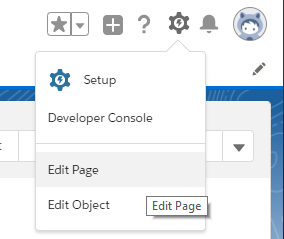
Once on the desired entity page, find the settings icon in the top right corner and select Edit Page.
On the left-hand side of the page in the Lightning Components section scroll to the bottom of the page until you find the InRule_RunRules in the Custom-Managed Section


Note: If you have not setup your Salesforce domain, you will see this message in the Custom-Managed Section.
Simply follow the link to setup your domain. Once it has been set and you have logged in with the new domain come back to edit page and you should now see the InRule_RunRules Lightning Component.
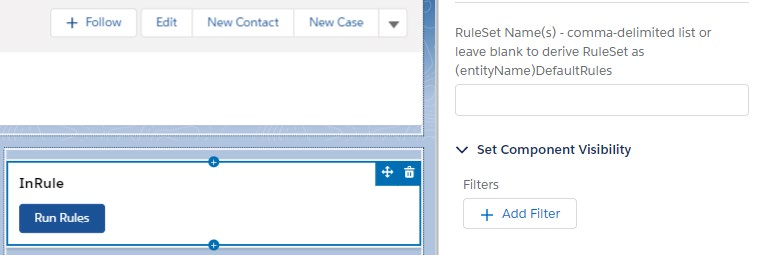
Drag the InRule_RunRules Lightning component to the desired location on the page view. Once you have placed the component, click on it and a menu bar on the right will appear with two available configuration values.
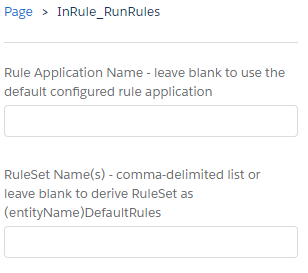
The first configuration field, Rule Application Name, allows you to define a Rule Application to use for this specific lightning component. Placing a value in this field will override the Rule Application you have defined in your Custom Setting as the default. Leave this field blank to use the default configured Rule Application.
The "Rule Set Name(s)" field accepts a comma delimited list of Rule Set names. Adding multiple rule sets here will create multiple Run Rules buttons for each defined Rule Set on the page. Leaving this field blank will leave only the singular "Run Rules" button, and this button will execute the Default Rule Set for the given entity. The Default Rule Set is defined as the entity's name + "DefaultRules." For example, if you are adding the Lightning component to the Account entity, the Rule Set name it will default to if this field is left blank is "AccountDefaultRules."
If no Rule Sets are defined, it will create 1 button that uses the default Rule Set for the entity. This button will be generically titled "Run Rules":
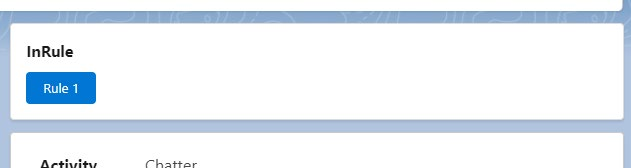
If one Rule Set is defined, will create 1 button that will use that defined Rule Set and will be titled with that Rule Set's name:
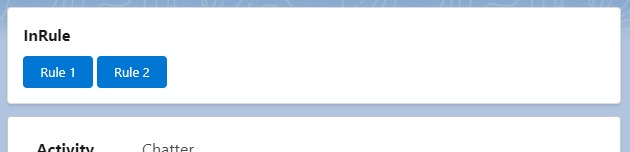
If 2+ Rule Sets are defined, will create a button per Rule Set that will use the respective Rule Sets, each button titled with the rule set they map to:
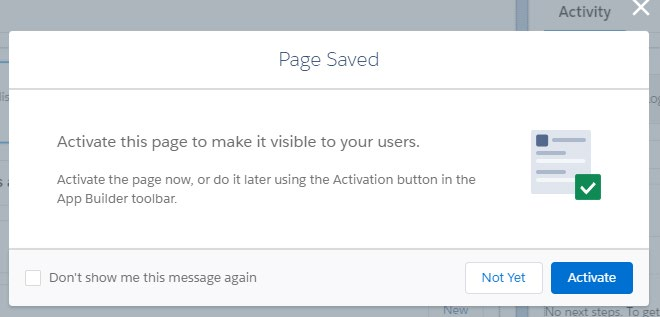
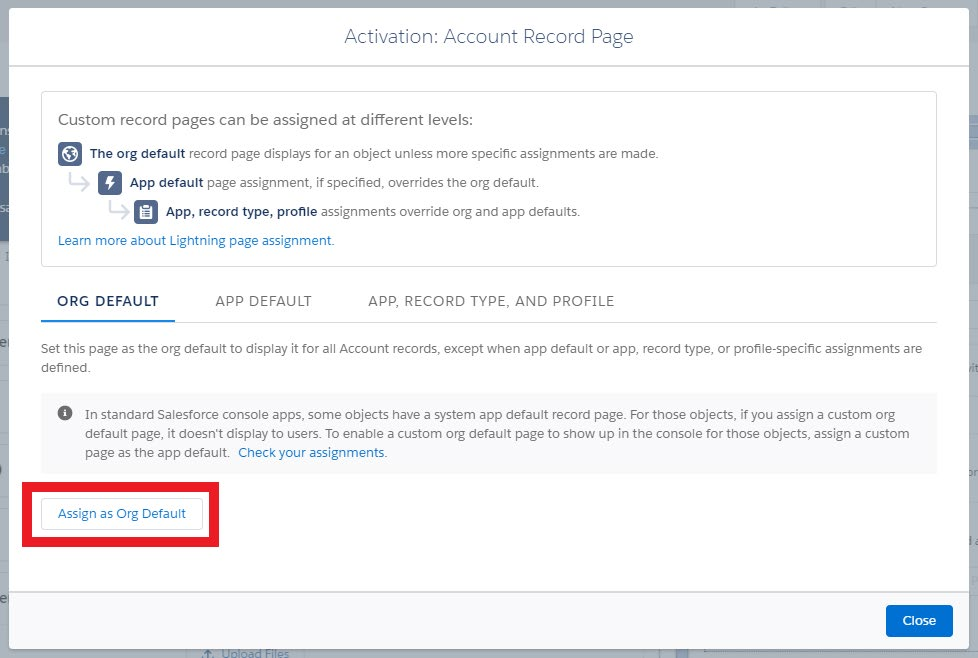
Once you have configured your Rule Sets, click save in the top right corner. It will prompt you to activate this page to make it visible to your users, click activate.
Salesforce will now ask for the scope to activate the record page. Select the desired scope and click Assign and then save on the subsequent prompt.
Navigate back to the main entity page and the component should appear.